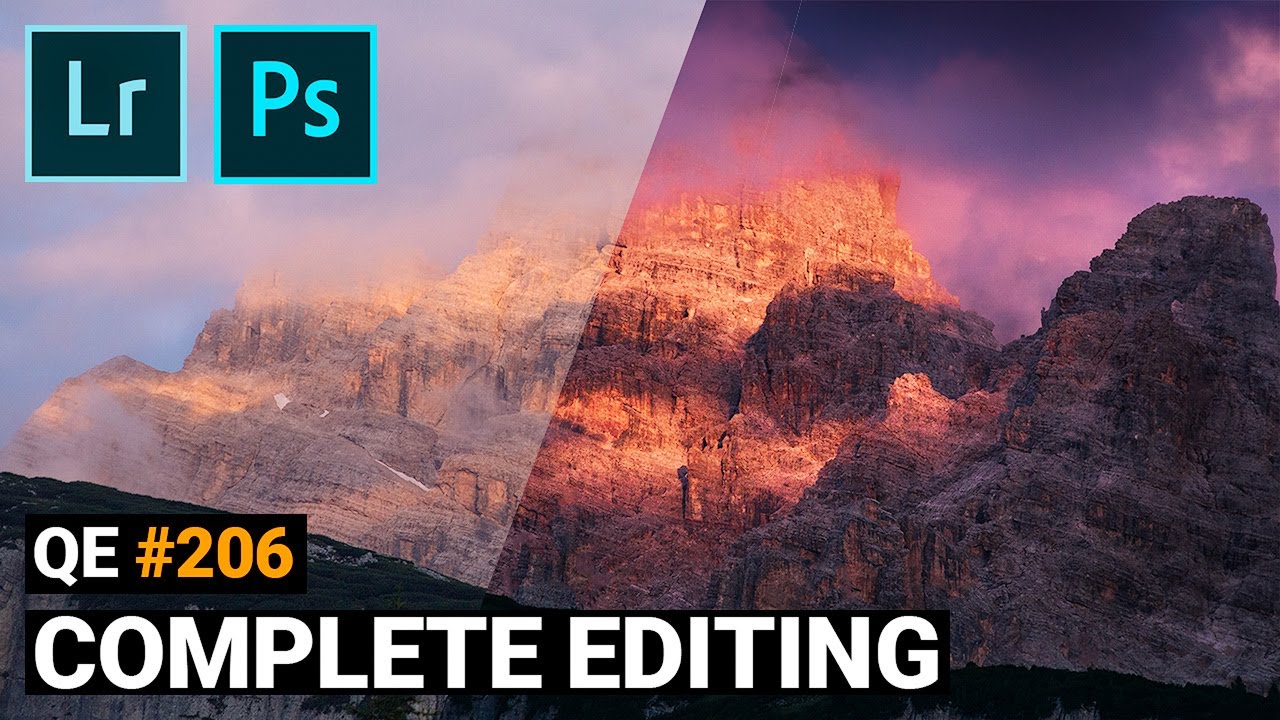
 In this quickedit video I’m working on another mountainscape sunrise image on which I want to enhance the alpenglow effect. For the #PostProcessing I will be using Adobe #Lightroom Classic and Adobe #Photoshop CC 2019
 If you'd like to support me, Patreon:
Instagram:
Facebook:
I had quite a few problems editing this image since I liked the raw shot so much and it’s easy to mess it up and end up with a bad shot. In the end I’ve edited this shot around 5 times until I had a cool looking photo. My general goal was to give the highlights on the mountain face more of a red colour and making them glow and thus enhancing the alpenglow effect.
As the basic raw adjustments were made in Adobe Lightroom, I first activated the lens corrections and then switched the camera profile to Adobe Landscape. This will help add some saturation to the photo and also make the darker areas brighter. To give the image a warmer look I switched the white balance to daylight. This way I also still have a nice, blue sky, while the mountain face will get a warmer colour tone. For the global adjustments I first increased the exposure to make the picture brighter. Then I added contrast and some whites. Now I didn’t like how the sky turned out after adding exposure and since I wanted to have a rather dark sky, I added a graduated filter and dropped the exposure again. Next, I added a radial filter above the mountain itself and increased the texture and clarity inside it to give the mountain more structure and detail.
There also was quite a bit of colour grading going on. I played around with the luminance a lot and this way made the orange colour tones brighter, while I reduced the blue luminance for an even darker sky. Also, I adjusted the saturation of the orange, blue, purple and magenta colour tones to give everything a more ‘sunrise-like’ look. Finally, I sued the split toning to give the highlights and shadows a warm colour tone.
The first thing I did in Photoshop was to remove the objects in the foreground which are super distracting. Here I simply used the spot healing brush to remove them. I applied a curves adjustment layer to give the image some more contrast, especially in the dark parts. Since that wasn’t enough, I used the TK Panel Plug in to create a luminosity mask for the darker tones and further worked on the contrast here (only dark tones were effected because of the luminosity mask). Finally, I created a new layer (blending mode set to overlay) and a low opacity brush to do some dodging and burning (white brush makes areas brighter, black brush makes areas darker).


0 Comments